
It all started when I got a big dose of insomnia and my hands came looking for scissors and a fabric to cut. But then, all fabrics available were so new and I'm not in the mood to create a really big project say for example, making a blouse. AND--- the electric sewing machine is sick and I had no idea how to fix it or use the manual instead. So yeah, hand-stitch it is! haha
Okay, since everything seemed so screwed up, I raided my closet for any clothing malfunction and from there came the boring white polo shirt that can't even fit my arms (adding to my insecurities). My mood actually decided what to do with it, and somehow, the suggested chambray was a good catch. :)
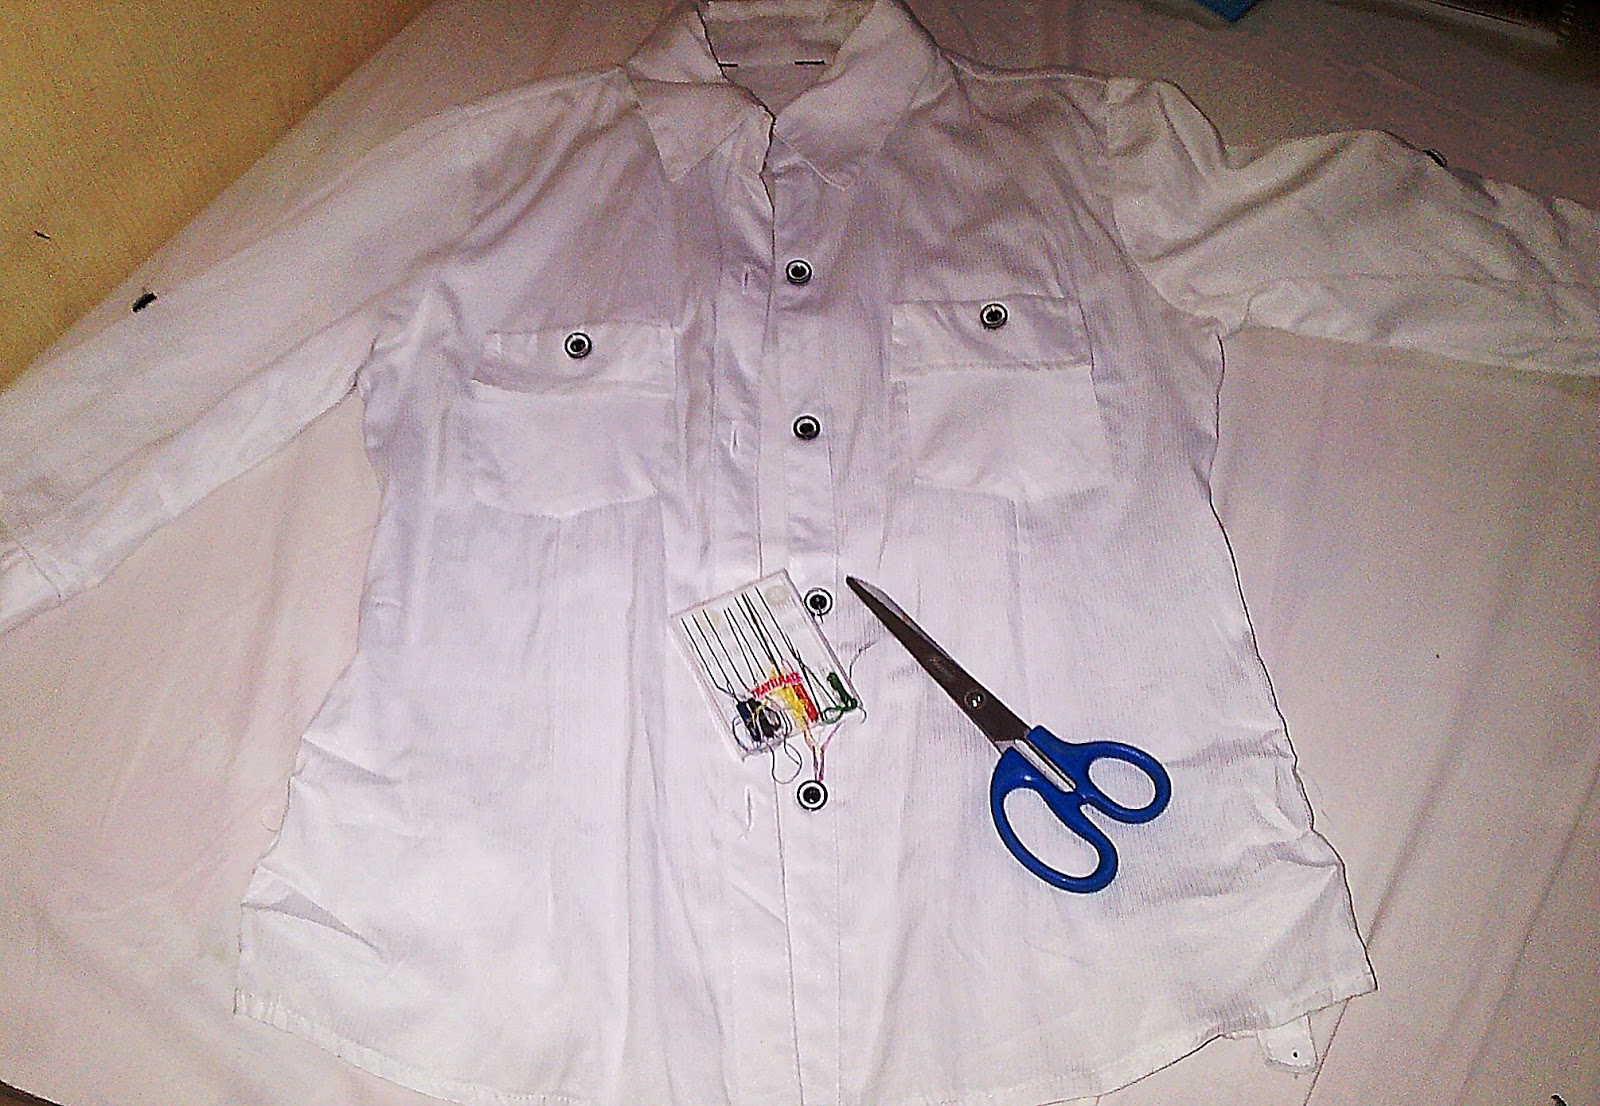
Here are my easy steps on how to re-create a boring polo shirt to a chambray top:
What you will need:
- Old/boring Polo Shirt
- scissors
- colorful threads
- needles
- thimble
- buttons
- sewing machine (optional)
- stitching skills
First Step:
Look for a boring polo shirt or any with a defect (e.g. super tight sleeves) then consider it as the base of the new chambray top. Then prepare the necessary materials like the scissors, needles, threads and all.
Second Step:
Next, you cut off the sleeves leaving about an inch or a half in the connecting hems. Below you can see that I cut the sleeves on a free-form manner since the cut whether straight or not, doesn't matter because it will be hidden in the latter part.

Third Step:
Then you fold the remaining portion inwards so you will achieve the clean sleeveless look after the next stitches. In here, you can opt to use some pins to secure the fabric in place when you sew them later.


From there you start sewing. You can use any sewing tool you have whether you use an electric sewing machine or the manual one (the one on which you use your foot to let it work)-or like in my case, hand-stitch! Just make sure to as much as possible, make it clean and neat. Also, keep the stitches running to avoid loose threads which might break the remaining cloth. Below you can see the edited photo with an arrow indicating the motion of the stitch-inward. I also manipulated the photo to somehow sharpen it so it'll be clearer to see the stitch.

 |
| These are thimbles by the way. One is normally used on the pointing finger to keep it safe from the impact of the needle especially when you're into hand-stitching. |

Fifth Step:
Change the buttons of the top depending on your desired colors or styles. This step is optional though. In my case, I find the buttons plain so I selected a pop of pastel colors to keep the look sweet and simple.

After changing the buttons, You can now knot the bottom part of the top to complete the total look of the desired chambray top. :)

Tadahh!! This is the finished product. Not bad right? :)
So there it is! Till the next tutorial sesh!
-Fayemos
***Photos (except for the thimble pic) are taken by my blackberry phone only.
No comments:
Post a Comment